I Think We Just Started a Print & Cut Revolution (And You’re Gonna Wan

I Think We Just Started a Print & Cut Revolution (And You’re Gonna Want In)
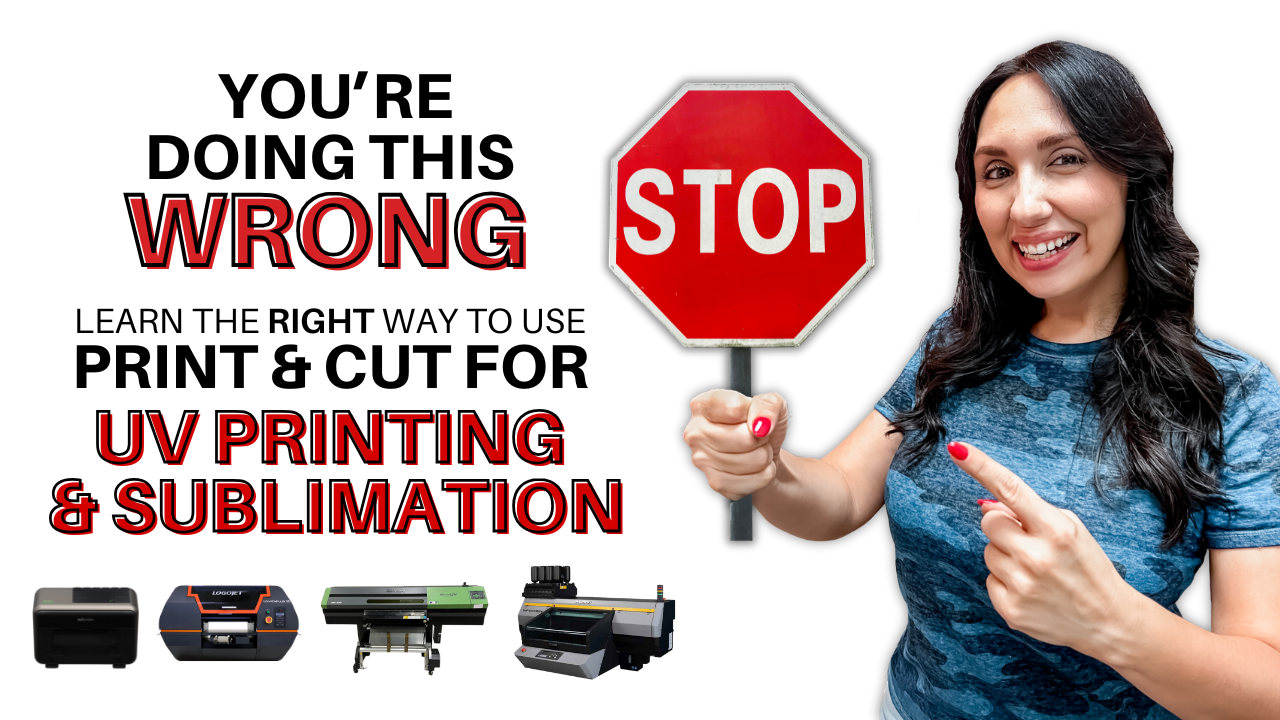
If you’ve ever tried the Print & Cut Wizard in LightBurn software and ended up with a wonky, misaligned mess, or worse, wasted materials and time, you are not alone. In fact, judging by the dozens of messages, comments, and tags I’ve gotten since releasing my latest video, I think I may have just kicked off an entire Print & Cut revolution.
And let me tell you, it wasn’t even about me. It was about you. It was about the hundreds of people in my inbox over the past year saying, “Emily, I cannot get this to work.”
So I took that to heart. Because when I know something’s not clicking for you, I can’t help but roll up my sleeves and get to work.
A Year in the Making
When I first dipped my toes into UV printing, I was completely new to the process. I had no experience with ink of any kind and no idea how it would integrate with my laser workflow. Adding a Mimaki 6042 from PDS Equipment, and that opened up a whole new world of possibilities in my shop. But along with the excitement came new challenges, like figuring out how to get perfect alignment when I wanted to combine print with precision laser cuts.
Once I got the printer, everyone started reaching out to me for help. I had no idea that the floodgates of Print & Cut confusion would open. But they did. I’ve done Print & Cut more times than I can count, so it wasn’t as intimidating for me but the more I heard about your struggles, the more I realized the typical advice wasn’t cutting it. Pun intended.
There’s a popular belief floating around that to do Print & Cut properly—especially with UV printing—you need a laser with a top-of-the-line camera system. But here’s what I know after doing this for years: even the fanciest systems can be finicky, glitchy, and in constant need of recalibration. And they come with a hefty price tag.
So instead of telling you to invest in a $25K+ laser upgrade, I did what I always do. I rolled up my sleeves and found a smarter way. One that works with any printer, any laser, and any skill level. No cameras required. Just math, logic, and a little light.
And to make sure my theory was right, I tested it. Live.
Back in May at the Cerulean Tides LINK 2025 event, I ran back-to-back demos with maker after maker. Some had never touched Print & Cut before. Others had been struggling with it for months. And every single one of them? Nailed it using this method. Over and over again. We saw accurate, clean cuts across all different setups, proving what I already believed: this wasn’t just working for me. It was working for everyone.

That’s when I knew I wasn’t just troubleshooting anymore and that this system really would change the game for everyone.
Amanda, who owns Cerulean Tides and hosted the event at her beautiful shop in Pompano Beach, Florida, was so fired up about the results from my new video that she launched a brand-new offering the very next month:
“We Print. You Cut.” 💥
If you don’t have a UV printer but want to try this method yourself, you can now order professionally printed gang sheets through Cerulean Tides. They’ll print your full-color artwork directly onto laser-ready materials with registration marks—and ship them right to your door. All you have to do is follow my tutorial, line up your cut, and boom: flawless results.
You design it.
They print it.
You laser it. 🙌
📦 Order your custom sheet now!
🎥 Watch my tutorial that started it all
The Dot That Changed Everything
The core of my method? A teeny tiny white dot.
Seriously. I know it sounds silly, but once you see your red laser beam hit that white dot and actually glow, you’ll understand why it’s such a game-changer. The moment that beam lights up—boom—you know you’re spot-on.
And shoutout to two incredible makers who brought this hack to life right away: Stephanie Greer, a proud Laser Launch Academy alum, and Candida Bustelo, a longtime community member and supporter who’s been following my journey for years. They didn’t just watch the video, they applied the method immediately and nailed their sublimation cuts on the first try. For those working with Unisub or other white substrates where printing a white dot isn’t possible, they followed the layered dot trick: printing a black dot first, then centering a smaller off white or clear dot on top. Worked like a charm.
Candida (owner of Blonde Brazilians Designs) posted a close-up reel showing exactly how her dot combination lit up under the laser, and I have to say, it’s pretty satisfying to see this hack helping real makers get real results.

Join the conversation in her post!
(Stephanie even shared a project in my FaceBook group the very next day (check out her work at stephaniescreationsllc.com or @stephaniescreations_llc on Instagram).

Watch it here! https://www.facebook.com/reel/1394851284904695
And Then Came the Comments…
After I posted the video, the comments came flooding in.
It was surreal. After a year of tinkering, testing, and bouncing ideas off my shop-mate Sara and LLA alumni like Elizabeth from Would Be Awesome Gifts, it was actually working… for everyone.
But Wait—Let’s Talk About Scaling
One of the biggest follow-up questions I got after releasing the video was:
“When do I use Scale vs. No Scale?”
Here’s the perfect example.
I once forgot to record the exact dimensions of a sublimated rainbow project. I don’t own a sublimation printer (and didn’t have a UV printer yet), so I had visited my friend Mindy, who kindly let me print the project at her shop. I didn’t realize until I got all the way back home and was ready to cut that… we never saved the file. And I had no clue what dimensions that intricate rainbow was printed at.
Cue panic.
But then I remembered: there’s a scaling option in the Print & Cut wizard! Could THIS be what it’s FOR?!
And guess what?
It didn’t matter that I didn’t know the size. LightBurn automatically adjusted the cut file to match the print. And the result? Practically flawless. 🤯
Moral of the story? Unless you are 1000% certain that your print and cut files are exactly the same size, let Scale do the heavy lifting.
You Don’t Need a Fancy Setup—You Just Need the Right Tools
I say this all the time, but it’s worth repeating: you don’t need the most expensive equipment to get professional results. You just need the right strategy and maybe a little help from someone who’s made all the mistakes first.
This Print & Cut method is more than a tutorial. It’s the exact kind of lesson I teach inside Laser Launch Academy, my signature course designed to take you from “I have no idea what I’m doing” to “I run a confident, smooth-operating laser business.”
If this blog helped you, you’d love the course. It’s packed with bite-sized, binge-worthy lessons (with a lot less rambling than this post—promise 😅), live support, and training that actually grows with you.
👉 Enrollment is currently open at LaserLaunchAcademy.com
If we’re between sessions, just hop on the waitlist and I’ll let you know when we’re back!
Want Files That Work With This Method?
Then come hang out in Mom’s File Club—my monthly subscription for makers who want access to ready-to-go laser files, UV print files, and sublimation-friendly designs that assemble fast and sell even faster.
Every month you’ll get:
-
Three brand-new designs
-
Laserable versions sometimes with both score and engrave variations
-
Color versions for UV/sublimation
-
Mini tutorial videos and tips
-
Product photos you can use for marketing
And the best part? The files are intentionally simple and designed to help you stand out—so you’re spending time selling, not assembling for hours.
✨ Join here: thatmomwithalaser.co
So… Are You In?
If you’ve been struggling with Print & Cut, I want you to know: it’s not you. You weren’t missing something. You just needed the right combination of dot color, alignment strategy, laser speed, and software settings. And now that you’ve got it? The stars will align.
And if you’re one of the thousands of new Eufy Make backers... you’re in luck. I just saved you hours of trial and error with this method and probably a few deep sighs and ruined projects along the way.
Honestly, I won’t be surprised if this becomes the go-to Print & Cut method in a few months. If you start seeing it everywhere, just smile and know, you were part of the moment it all started. 😏
I’m so proud of this community for trusting me to help solve this. Keep tagging me in your posts, keep sharing your results, and keep teaching others because now you have the recipe.
Let’s keep the revolution going.
🫶
Emily AKA “Mom” <3
- Tags :
- UV Printing,
Recent Post
Laser Shop Essent...
Nov 23, 2025 - by Emily CarolineWeek One at Paint...
Oct 26, 2025 - by Emily CarolinePainting My Littl...
Oct 20, 2025 - by Emily CarolineArchive
- October 2025


1 comment
Emily, you have done it again! 🙌 Your dedication to solving real challenges for makers is inspiring, and we’re so honored to be part of this Print & Cut revolution. Hosting you at Cerulean Tides for the LINK 2025 demos was such a highlight for us and seeing makers light up when it worked was incredible. Your method/tutorial is game-changing, and we’re thrilled to support it with our new “We Print. You Cut.” offering. Here’s to helping more makers bring their visions to life, one perfect cut at a time!
Nov 23, 2025 at 18:37
Leave a comment
Your email address will not be published. Required fields are marked *